

Design a custom name keychain to 3D print
A keychain with your name on it, in two colours, ready to print: a perfect first project, for children and grown-ups.
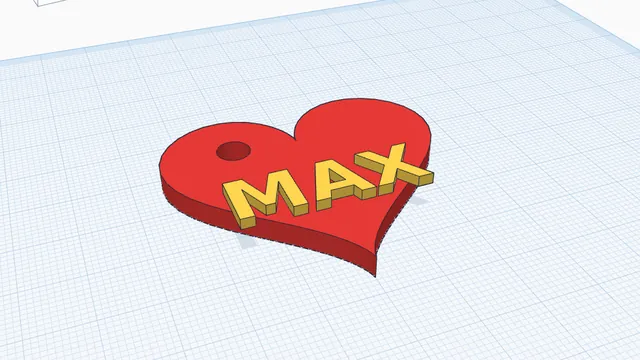
In the program, this lesson runs in a practice workspace beside your own design and checks each step as you go.
What you will make
A heart (or any shape) with your name on top and a hole for the ring.
What you will learn
- Put down a shape and flatten it
- Write your name
- Colour it
- Cut the ring hole
- Group with Multicolour
Step by step
Pick a shape
Drag a Heart, a Star or any shape you like onto the workplane.
You should see: Your shape on the workplane.
Make it flat
Keychains are flat: set its Height to 4 mm, and make it about 50 mm across.
You should see: A flat shape about 50 mm across.
Write your name
Drag Text onto your shape, then type your name in the Text box in the panel.
You should see: Your name on top of the shape.
Colour it
Click the colour circle in the panel and pick a colour that stands out from the shape.
You should see: Your name and the shape are different colours.
Add the ring hole
Drag a Cylinder hole onto a corner of your shape, where the ring will go.
You should see: A striped cylinder over the edge of your shape.
Put it together
Select everything (Ctrl+A) and press Group. Tick Multicolour in the panel to keep both colours.
You should see: One keychain, with the hole cut and two colours.
Tools used
Adding shapesTextSolid & HoleGroup
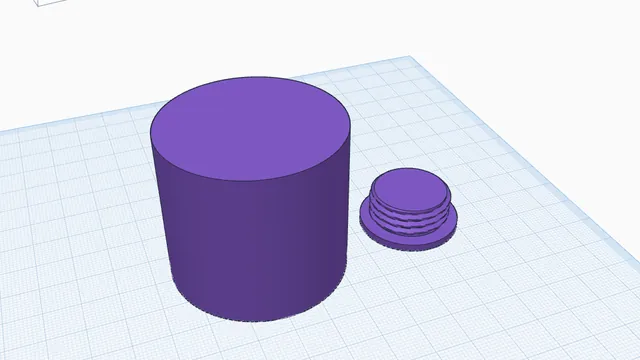 A screw-top keepsake jarIntermediate · 5 min · A round box with a lid that really screws on, made with Hollow's screw cap.