

Group
Merges the selected solids into one and cuts out any holes. The parts are remembered in the Design tree, so you can still change them later.
When to use it
To join parts into one solid, and to cut holes. Group whenever parts belong together and should move, print and export as one.
How to use it
- Select two or more objects (drag a box over them).
- Press Group. Exports are repaired to be watertight automatically.
Options
- Still editable
- The parts are kept inside the group (Design tree), so you can change one later and the group rebuilds.
- Colours
- Parts of different colours keep their colour, for multi-colour printing.
- Ungroup
- Ctrl+Shift+G gives the parts back.
Good for: joining parts into one, cutting holes, and keeping a design tidy.
Examples
- A box and a cylinder hole grouped into a plate with a hole.
- Letters grouped with a base so the sign prints as one part.
Limits
- Groups remember their parts: double-click a group to change what is inside it. A group of many detailed imported meshes can take a few seconds to build.
- Multicolour (in the group's panel) keeps each part's colour for 3MF export, instead of one colour for the whole group.
Common problems
- The colours went one colour after grouping.
- Tick Multicolour in the group's panel.
- Group is greyed out.
- Select at least two parts first (Shift+click, or drag a box round them).
Learn it step by step
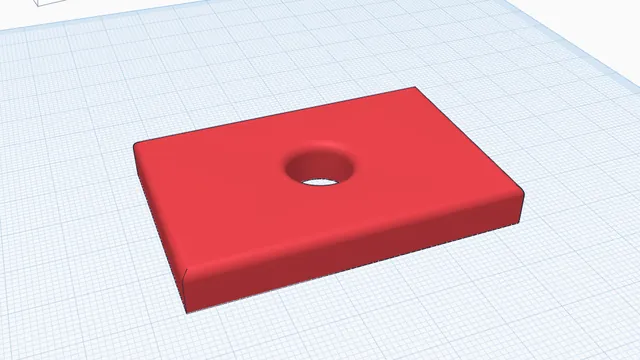 Your first printable modelBeginner · 12 min · From an empty workplane to a file your printer can print: a 60 × 40 mm tag with a hole and rounded edges.
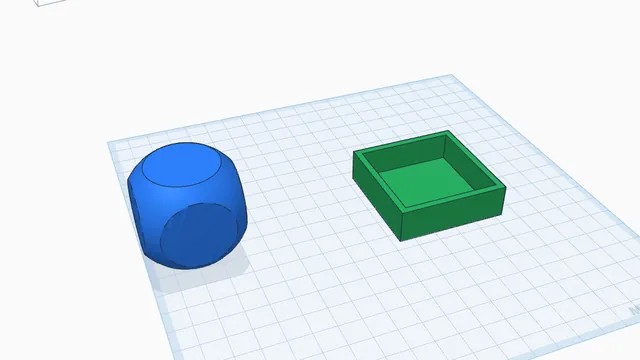 Holes, pockets and traysBeginner · 6 min · Use hole shapes to hollow out a tray with a floor, and Intersect to keep only where two parts overlap.
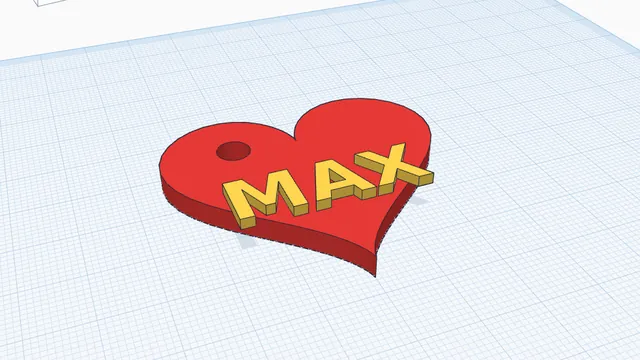 Your own keychainBeginner · 6 min · A keychain with your name on it, in two colours, ready to print: a perfect first project, for children and grown-ups.