

Get a 3D model ready to print: orient, check overhangs, export STL
Turn parts onto their best flat faces, check for overhangs that need support, and export a 3MF.
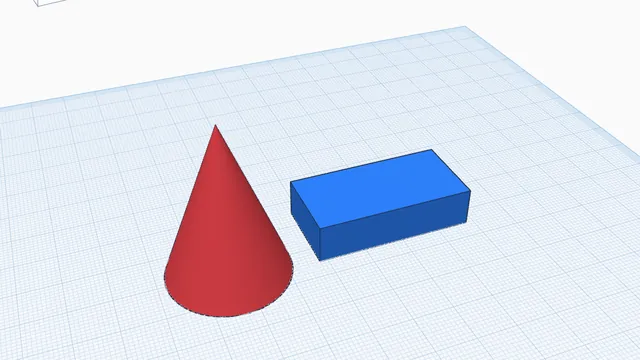
In the program, this lesson runs in a practice workspace beside your own design and checks each step as you go.
What you will make
Two parts laid flat on the bed and saved as a 3MF.
What you will learn
- Lay parts flat and arrange them on the bed
- See overhangs with the Overhang map
- Export a 3MF
Step by step
Spot overhangs
Press Overhang (Inspect). Faces that lean out too far to print without support turn orange or red.
The upside-down cone would need supports all round: red tells you before you slice.
You should see: The cone's underside is red.
Lay flat
Press Lay flat: every part turns onto its best flat face and is spaced out on the bed.
A big flat face on the bed means no supports and a strong first layer.
You should see: Both parts sit flat on the workplane: no red left.
Export a 3MF
Press Export and, on the 3MF line, press Everything. Save the file.
3MF keeps each part's colour and name, so your slicer shows them as separate objects.
You should see: Your 3MF file is saved.
Tools used
Lay flat & arrangeOverhang mapExport for printing
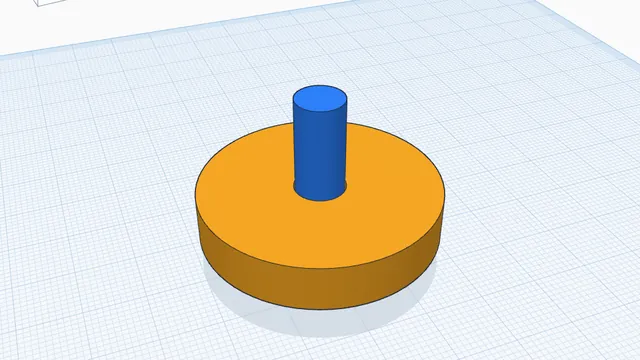 Print moving parts in one goAdvanced · 3 min · Make a wheel that turns on its axle straight off the printer, by checking and cutting the gap between them.