

Move, rotate and resize 3D parts precisely
Drag parts into place, lift them, turn them by exact steps, put them back down and copy them.
In the program, this lesson runs in a practice workspace beside your own design and checks each step as you go.
What you will make
A small arch of blocks, placed and turned by hand.
What you will learn
- Drag a part across the workplane
- Lift it with the black cone
- Turn it with the curved arrows
- Drop it back onto the workplane with D
- Copy it with Ctrl+D
Step by step
Drag it
Click the red block and drag it across the workplane, about 30 mm to one side.
Dragging is the quickest way to place a part roughly. The grid makes it jump in neat steps.
You should see: The block has moved.
Tip: Hold Ctrl while dragging to move freely, without snapping.
Lift it
With the block selected, drag the black cone above it upwards: the block lifts off the workplane. Lift it about 10 mm.
Parts can float above the workplane; that is how you put one part on top of another.
You should see: The block floats above the workplane.
Turn it
Drag one of the curved arrows round the block. Stay on the inner ring and it turns in neat steps: turn it 90°, so it stands on its end.
The inner ring snaps to the step set at the bottom (Rotate 22.5°), so 90° is exact.
You should see: The block stands upright.
Tip: Watch the angle shown while you drag. Each curved arrow turns round a different direction.
Put it down
Press D: the block drops straight down onto the workplane.
Anything to be printed must sit on the bed. D is the quick way to make sure it does.
You should see: The block stands on the workplane.
Copy it
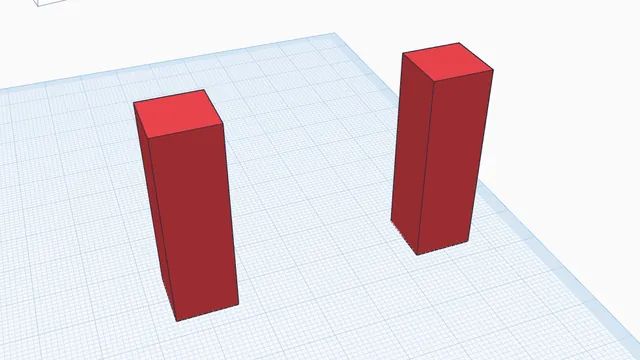
Press Ctrl+D to copy the block, then drag the copy 50 mm to the side.
Ctrl+D makes a copy in place. Press it again and the next copy repeats the same move: great for rows and stairs.
You should see: Two upright blocks, 50 mm apart.
Tools used
Move, size & liftDuplicate & repeat
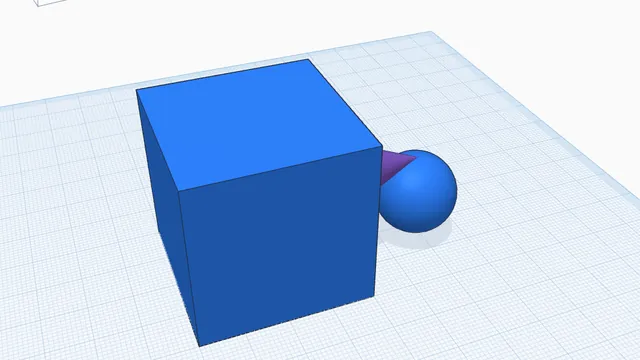 Build on facesBeginner · 4 min · Drop shapes onto the top or the side of other parts: they stand on that face, the right way up.