

Place shapes on any face of a 3D part
Drop shapes onto the top or the side of other parts: they stand on that face, the right way up.
In the program, this lesson runs in a practice workspace beside your own design and checks each step as you go.
What you will make
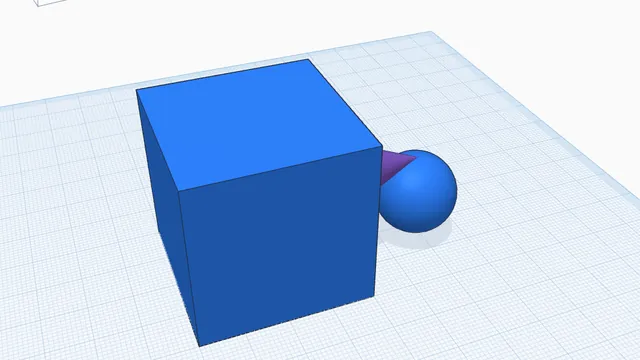
A block with a cone on its side and a ball on top.
What you will learn
- Drop a shape onto a side face
- Stack a shape on top of another
- Bring a part back down with D
Step by step
Onto a side
Drag a Cone from the shapes panel and let go over a side of the blue block. It stands on that side, sticking out sideways.
Shapes stand on whatever face is under the mouse, tilted to match it: no turning needed.
You should see: A cone sticking out of the side of the block.
On top
Now drag a Sphere onto the top of the block.
Stacking this way lines the part up with the face exactly: no gap and no overlap.
You should see: A ball sitting on top of the block.
Back down
Click the ball and press D: it drops straight down to the workplane.
D always takes a part down onto the workplane (or onto the part under it).
You should see: The ball is next to the block, on the workplane.
 Snap and line upBeginner · 4 min · Push parts flush together with smart snapping, then line them up exactly with Align.