

Measure
Click a face, a hole or a point and read its size: a hole or a peg gives its diameter, two flat faces the distance or the angle between them, a hole and a peg centre to centre and edge to edge. Points snap to corners (they turn green). Copy any value with one click.
When to use it
To check a real size before you print: a hole's diameter, the gap between two faces, the angle between them, the distance between two holes.
How to use it
- Press Measure (Shift+R).
- Click inside a hole for its diameter, or click two faces to measure between them.
- Press Esc or Measure again to put it away.
Options
- Snapping
- Points snap to corners, edge middles and the centres of round edges; they turn green when they snap.
- Along the axes
- The distance is also shown along X, Y and Z, so you can read a height or a width straight off.
Good for: checking a distance, a hole size or a gap before printing.
Examples
- Click inside a hole: its diameter.
- Click two flat faces: the distance or the angle between them.
- Click a hole and a peg: centre to centre and edge to edge.
Limits
- Measures the part as it is on screen (the facets of curved faces): curves read to within a few hundredths of a millimetre.
Common problems
- It shows a point, not the face.
- You clicked near a corner or an edge, which snaps to the point. Click in the middle of the face.
Learn it step by step
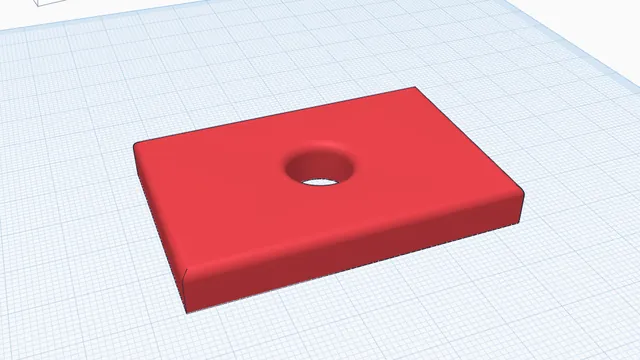 Your first printable modelBeginner · 12 min · From an empty workplane to a file your printer can print: a 60 × 40 mm tag with a hole and rounded edges.
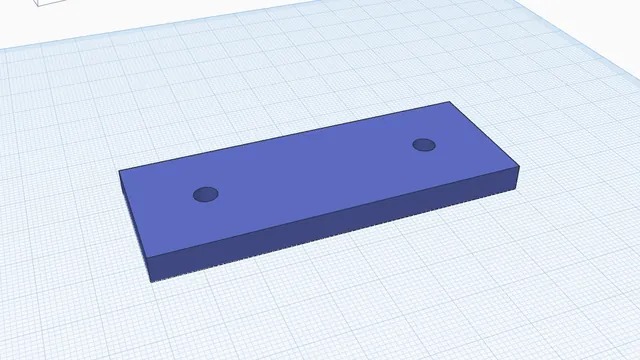 Measure and check a partIntermediate · 5 min · Read a hole's diameter, the gap between two faces and the distance between two holes, before you print.