

How to measure holes and gaps in a 3D model
Read a hole's diameter, the gap between two faces and the distance between two holes, before you print.
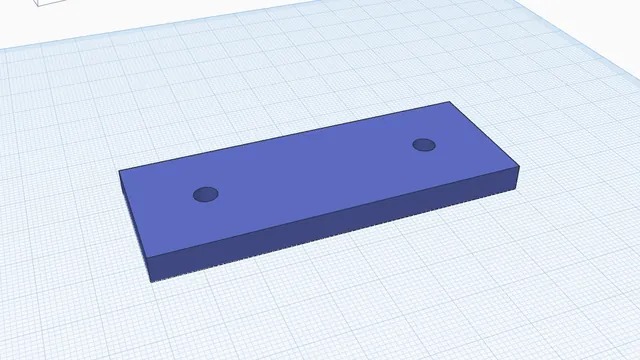
In the program, this lesson runs in a practice workspace beside your own design and checks each step as you go.
What you will make
You can check any size of a part, including an imported one.
What you will learn
- Measure a hole
- Measure between two flat faces
- Measure centre to centre between holes
Step by step
A hole
Press Measure (Shift+R) and click inside one of the holes.
Measure recognises holes and pegs and gives their diameter.
You should see: The card says Hole Ø 5.00 mm.
Two faces
Clear the card (×), then click the top face of the bracket, turn the view, and click its bottom face.
Between two flat faces you get the distance (here, the thickness) or the angle between them.
You should see: Distance between faces: 6.00 mm.
Tip: Right-drag to turn the view so you can see underneath: the workplane turns see-through from below.
Hole to hole
Clear the card, then click inside one hole and then inside the other.
Hole to hole gives centre to centre (for drilling the matching holes) and edge to edge.
You should see: Centre to centre: 50.00 mm.
 Parameters: change one number, update everythingAdvanced · 6 min · Name a size once and use it in formulas, so a whole design resizes when you change one number.