

How to split a 3D model into pieces to print
Cut a tall part into two pieces that print without supports, with a peg so they line up.
In the program, this lesson runs in a practice workspace beside your own design and checks each step as you go.
What you will make
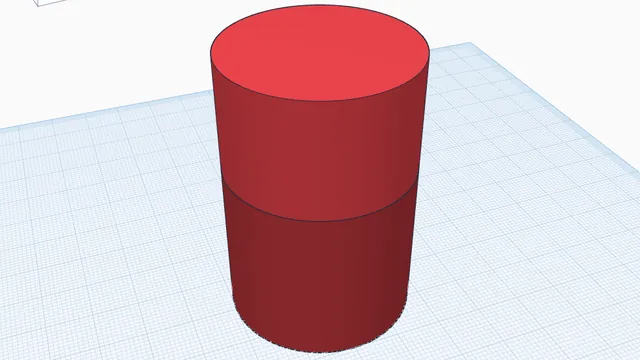
Two pieces of a tall cylinder, with a matching peg and socket.
What you will learn
- Place and tilt the cut
- Add a connector
- Split into two parts
Step by step
Open Split
Select the cylinder and press Split.
You should see: A pink cut plane goes through the part.
Place the cut
Drag the Slide bar to move the cut plane up or down.
Cut where the pieces print well: each piece should sit flat on its cut face.
You should see: The plane has moved.
Add a peg
Choose Plug (round peg) and press + Add at centre.
A peg on one piece and a socket in the other line them up when you glue them.
You should see: A peg shows on the cut.
Split it
Press Split.
You should see: Two watertight pieces.
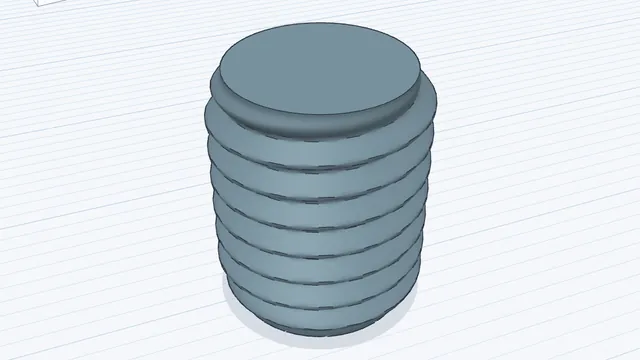 Threads that printAdvanced · 3 min · Add a real, printable screw thread from a preset, and read the will-it-print check.